
Are you looking for a great fall burlap wreath to make? Are you looking for something that will not only look great in your home but that is easy to make? Then this fall burlap wreath is exactly what you need!
This site contains affiliate links. If you make a purchase using one of these links, I may earn a commission. Please click here for more information about cookies collected and our privacy policy.
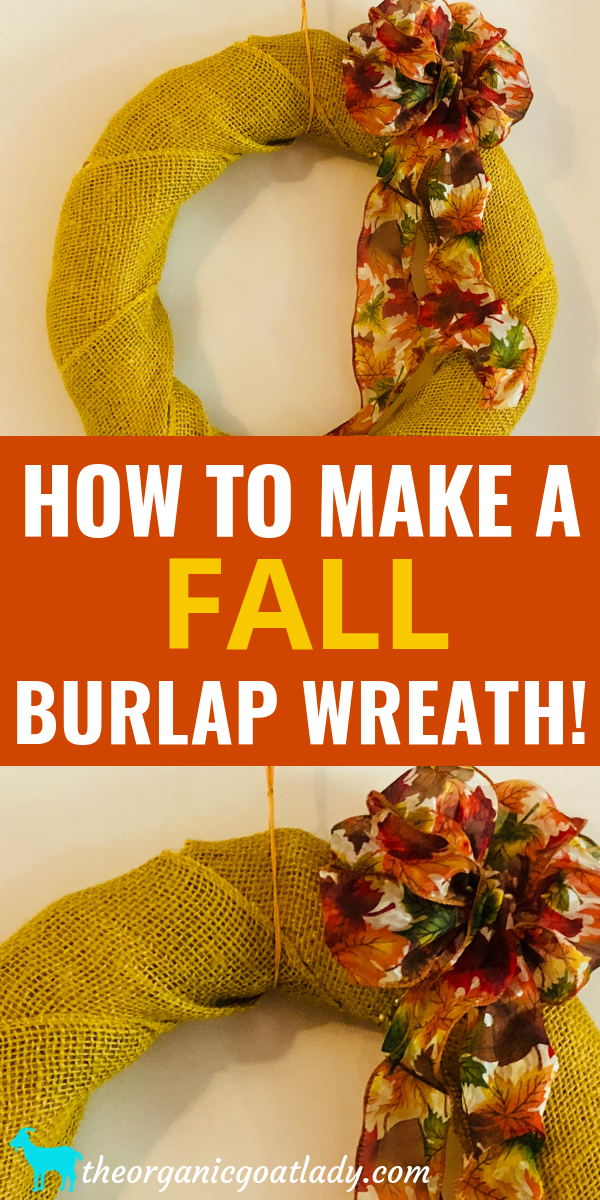
Fall Burlap Wreath
Are you ready to start decorating for fall?! Shhh, don’t tell anyone but I start pulling out the fall decorations before it’s technically fall;)
I know, I know, I live in the south! But I just can’t help it! Fall is my favorite! I want pumpkin spice, boots, and bonfires! And besides, when you’re inside sipping Pumpkin Pie Spice Cafe Con Leche and looking at your pretty fall decor, you can’t even tell it’s hot outside;)
One of my favorite fall decorations is this fall burlap wreath!
It’s a great interior wreath and is soooo easy to make!
And now as I’m sitting here typing this post, I get to enjoy it:)
The awesome part about this wreath is that it requires no hot glue! No glue, no sewing, nothing complicated! And, if you ever decide to make something different, you can easily take it apart and start over!
How to Make a Fall Wreath
First let’s talk about what you will need to make this wreath. There are only 5 things that you need! They are:
Straw Wreath Form
Yellow Burlap Ribbon Rolls
Fall Bow
Yellow Quilting Pins
Raffia

DIY Fall Wreaths
Once you’ve gathered all of the items needed you’re ready to assemble your wreath. This is literally going to take you only a few minutes to do! Which is awesome! I wish that all the things I made took this long to make and turned out this awesome;)
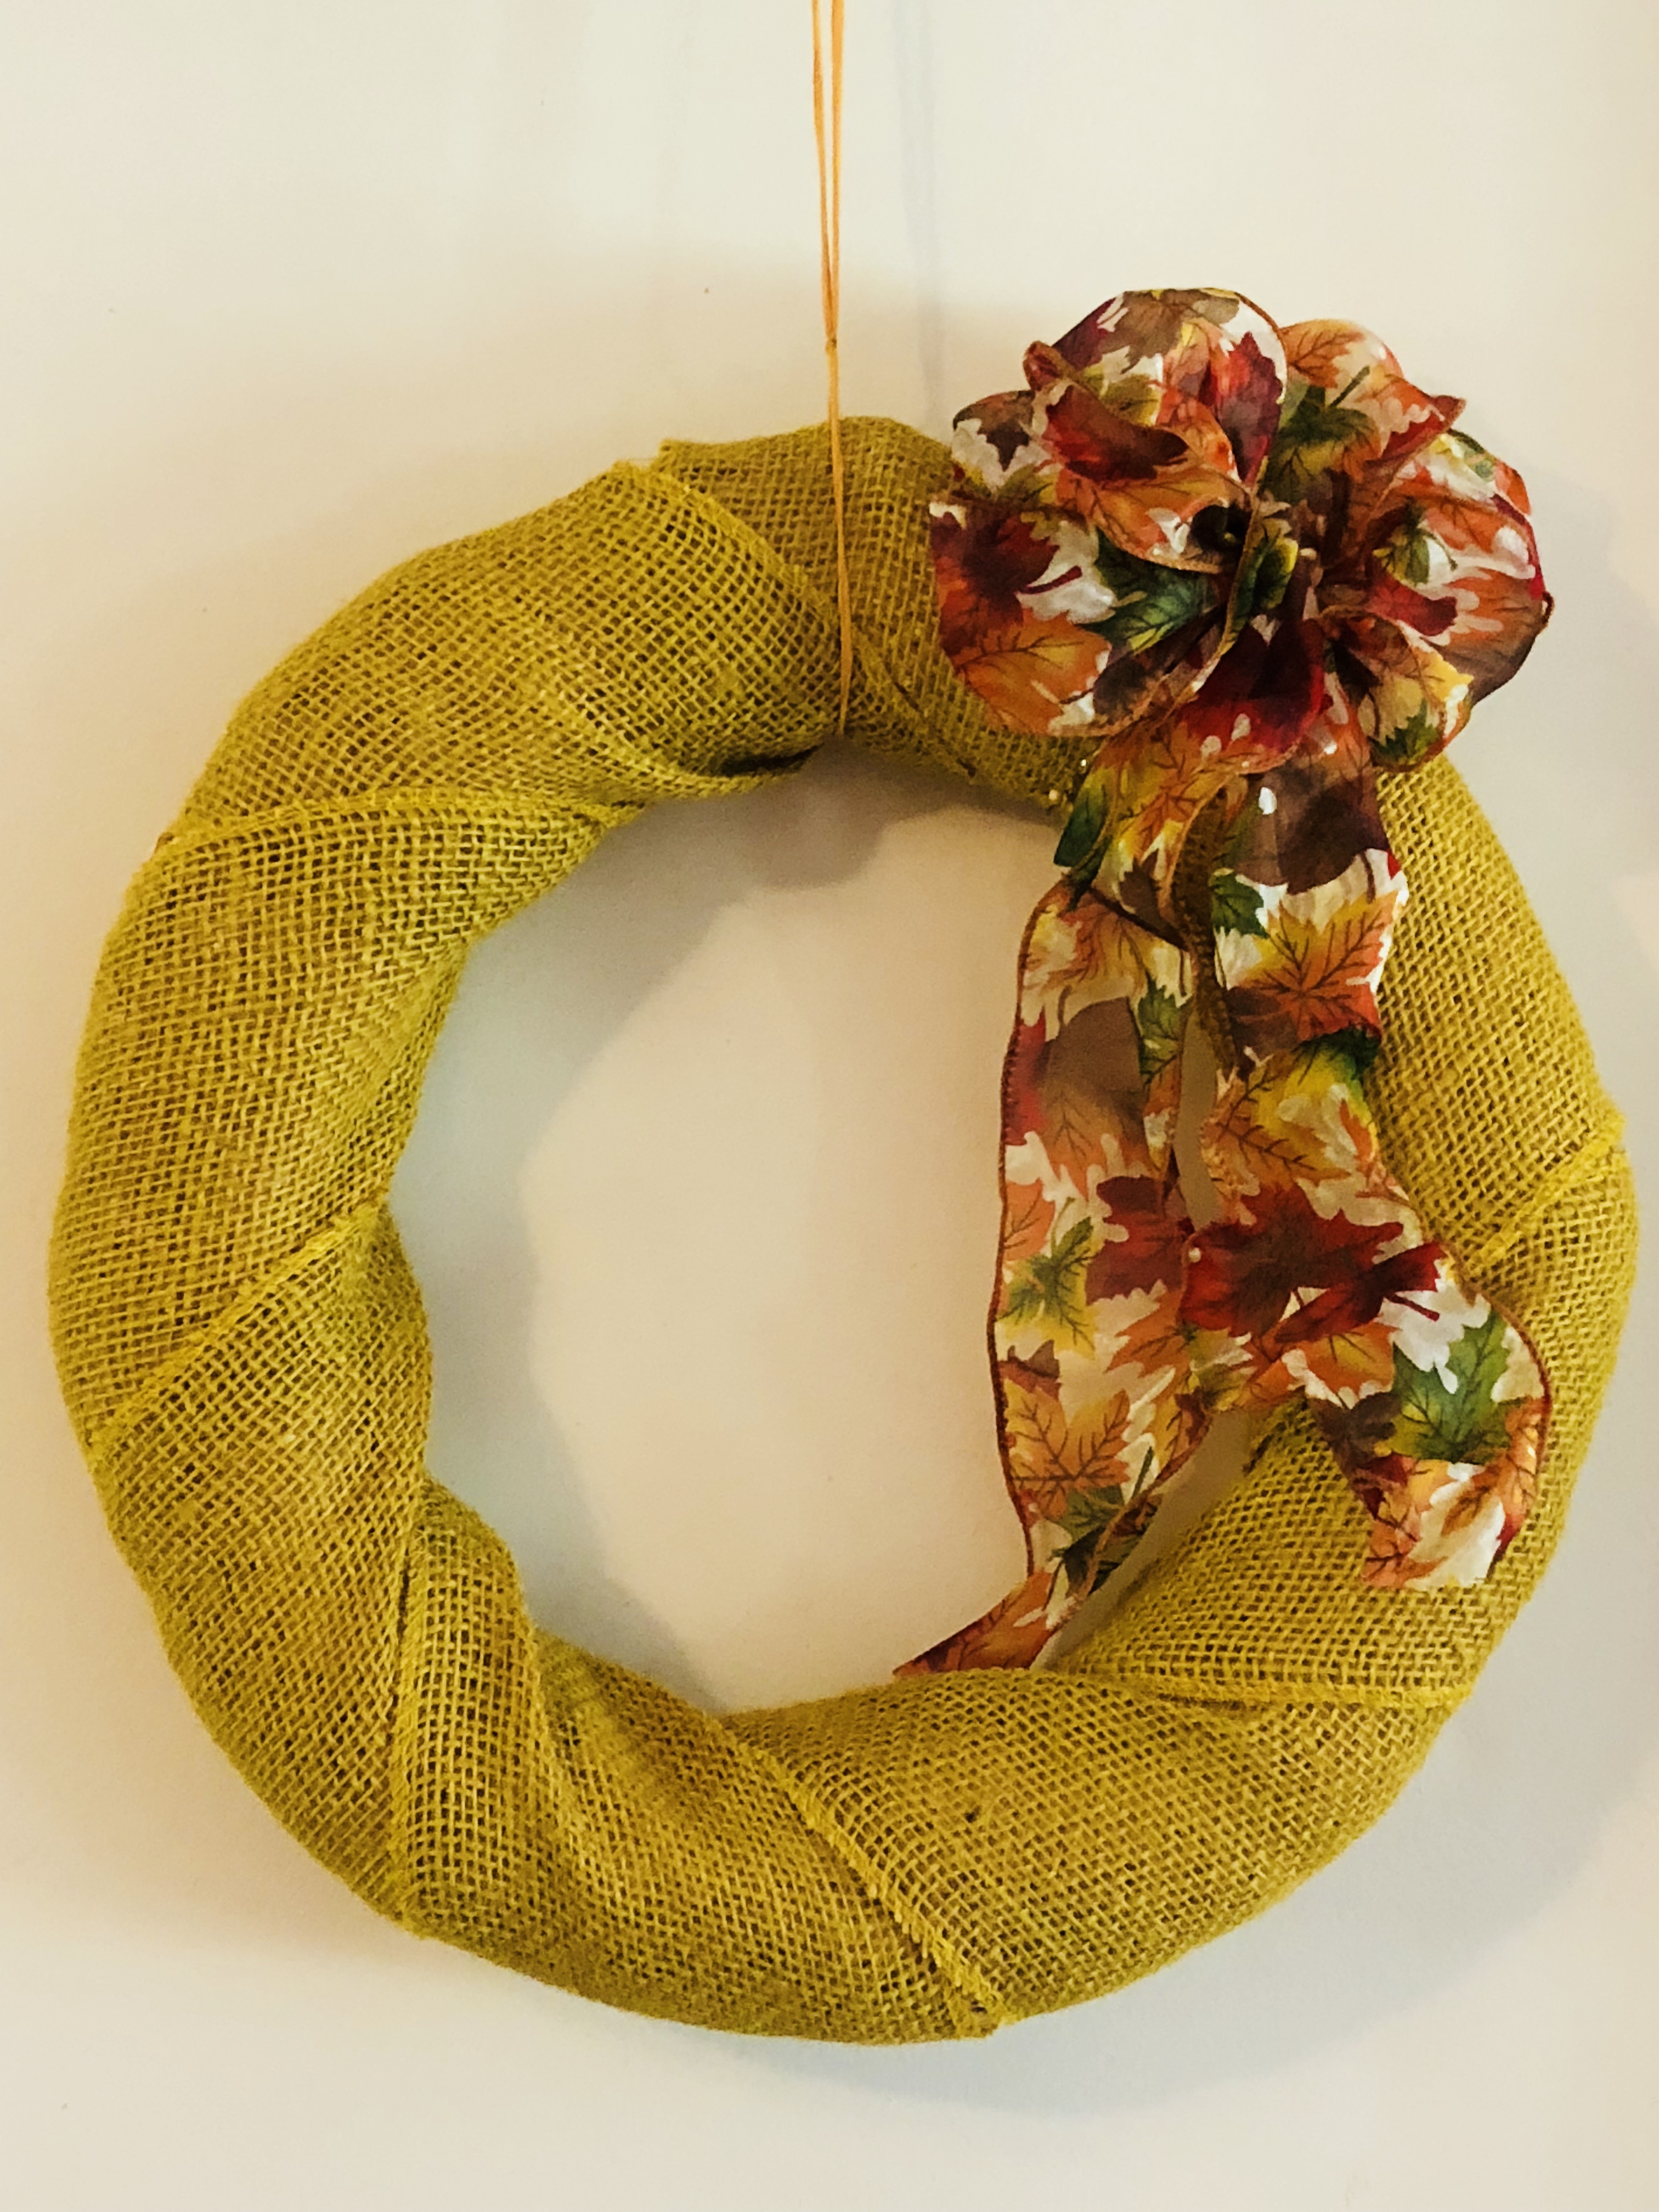
Ok, first you need to wrap your burlap around the straw wreath form. The size burlap listed above is ideal for this and doesn’t bunch as you wrap. Place the start of the burlap on the back of the top right corner of the form and secure it by pushing a quilting pin through the burlap and into the form. If you need to use a few to secure it well then do that.
Next start wrapping so that the burlap slightly overlaps itself. You don’t want to see the form beneath. Angle the burlap so that it can lay as flat as possible on the form.
Once you’ve reached where you started cut the burlap and secure the end again with the quilting pins.
Fall Wreath Ideas
Next, tie your fall bow onto the wreath in the top right corner to cover the yellow quilting pins. My bow came with a tie attached to it, but if the bow you choose doesn’t just use a piece of the raffia to tie it on.
Next tie a piece of raffia around the top of the wreath to make a hanger for your wreath. I hung my wreath by the raffia on one of these command hooks, but if you have a pretty fall wreath hanger like this then that’s even better:)
And that’s it! You now have a beautiful fall burlap wreath! Wasn’t that easy?!
Now you can sit back, eat some pumpkin spice buckeyes, and look at your pretty fall wreath;)
I hope you enjoy it as much as I do!