Do you have a bountiful garden harvest that you would like to preserve? There are multiple methods to use when preserving foods. Here we answer the question ‘How does canning preserve food’.
This site contains affiliate links. If you make a purchase using one of these links, I may earn a commission. Please click here for more information about cookies collected and our privacy policy.
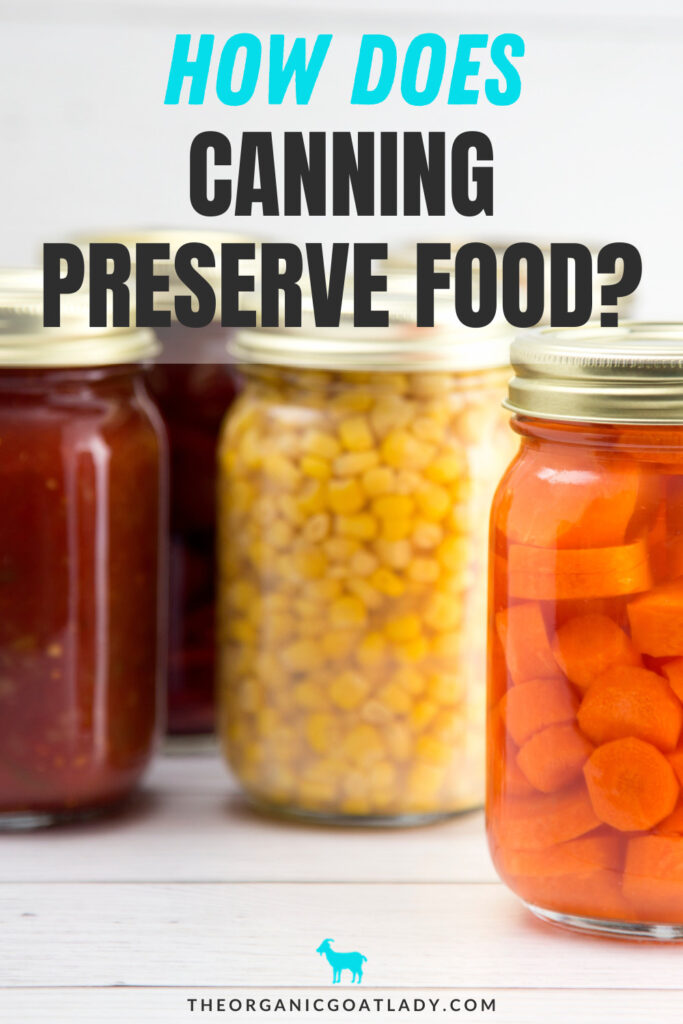
How Does Canning Preserve Food?
Canning is a food preservation method that involves sealing food in airtight containers (usually glass jars) and then heating the containers to a temperature that destroys harmful microorganisms, enzymes, and molds. This process helps to extend the shelf life of the food by preventing spoilage and maintaining its nutritional value.
Canning your own food is a great way to preserve the harvest from your own garden and is a healthier option than canned goods found in grocery stores.
Proper Canning Practices
The primary steps involved in home canning are as follows:
1. Preparation of Food for Canning:
Preparing fresh foods for canning is a crucial step to ensure the quality and safety of the preserved products.
Start by selecting ripe, fresh, and high-quality ingredients for canning. You want to use the best quality ingredients possible. This will result in better-tasting and longer-lasting canned products.
Thoroughly wash and clean the fruits, vegetables, or other ingredients you’re canning. Remove any dirt, debris, and blemishes.
Depending on the type of food, you might need to peel, trim, and remove any inedible parts. For example, when canning fruits like peaches or tomatoes, blanching them in hot water and then immediately placing them in cold water can help in easily peeling the skin.
Next cut or slice the ingredients into the desired size and shape. This step is important for uniform cooking and appearance in the finished product.
Some fruits, like apples or peaches, may darken when exposed to air. To prevent this, you can treat them with ascorbic acid (like lemon juice or vitamin C) to maintain their color. Follow recommended guidelines for the appropriate treatment.
2. Filling the Jars for Canning:
Filling the canning jars properly is a critical step in the canning process to ensure the safety, quality, and longevity of your preserved food.
Here’s how to fill jars for canning:
First prepare your workspace. Set up a clean and organized workspace with all the necessary equipment, including your prepared ingredients, clean jars, lids, rings, utensils, and a damp cloth for wiping jar rims.
Select appropriate-sized jars for your recipe and the type of food you’re canning. Different recipes might call for various jar sizes, so follow the instructions in your recipe.
Depending on your recipe and the specific type of food you’re canning, you might be instructed to preheat your jars. This helps prevent the jars from breaking when they come into contact with hot ingredients.
Depending on whether you’re using a hot pack or raw pack method follow these steps:
Hot Pack Method:
If using the hot pack method, heat the prepared food in a saucepan until it’s hot throughout. Fill the hot food into the jars using a ladle or a funnel, leaving the recommended headspace.
Raw Pack Method:
If using the raw pack method, simply pack the raw, unheated food into the jars using a spoon or your hands, again leaving the recommended headspace.
After filling the jars about halfway, gently tap the jars on a surface to help release any trapped air bubbles. This is important to ensure that the contents are evenly distributed and that there are no air pockets, which could affect the quality of the final product.
If your recipe calls for it, you might need to add liquid such as water, syrup, juice, or broth to cover the food and maintain the proper headspace.
Using a headspace tool or a ruler, check the headspace at the top of the jar. The headspace is the recommended gap between the top of the food and the rim of the jar. It allows for expansion during processing and the creation of an effective vacuum seal. Adjust the level of food if needed.
After the jars are filled use a damp cloth to carefully wipe the rims of the jars to remove any food particles, liquid, or residue. This ensures a clean and proper seal between the jar and the lid.
3. Sealing Jars for Canning:
Sealing jars properly during the canning process is essential to ensure the safety and quality of your preserved foods.
The sealing process involves placing lids on the jars and securing them with rings (if using two-piece metal lids).
Here’s how to seal jars for canning:
Before you begin filling your jars, prepare the lids according to the manufacturer’s instructions. Most canning lids have a sealing compound around the edge, which is activated when heated and helps create an airtight seal.
After filling the jars and wiping the rims as instructed above, place a prepared lid on top of each jar using clean hands or utensils. Make sure the sealing compound on the lid is in contact with the rim of the jar.
If you’re using two-piece metal lids, gently screw on the rings over the lids. It’s important not to overtighten the rings at this stage. Fingertip tightness is sufficient, meaning you tighten the rings using just your fingertips. This allows air to escape during processing and prevents the lids from becoming distorted.
Before processing the jars, double-check that you’ve left the recommended amount of headspace between the food and the lid. The headspace is crucial for creating a vacuum seal during processing.
4. Heat Processing Canning Methods:
There are two primary methods for heat processing: water bath canning and pressure canning. Which of these methods you use will depend on whether you are processing low acidic foods or high acidic foods. Process times and temps vary according to different recipes so be sure to follow your recipes instructions when choosing canning methods. Following proper canning techniques is very important.
Water-Bath Canning:
Water bath canning, also known as boiling water canning, is a method of home food preservation used to process high acid foods, such as fruits, tomatoes, jams, jellies, pickles, and certain condiments. This canning method involves placing filled and sealed jars of food into a large water bath pot of boiling water and processing them at a specific temperature for a designated period. The water level is typically 1-2 inches above the jars. The heat of water bath canning is used to destroy harmful microorganisms, enzymes, and molds, thus extending the shelf life of the preserved foods.
My friend Sarah teaches you everything you need to know about canning tomatoes in her Homegrown Pantry: Tomatoes Course. She teaches you how to make everything from tomato sauce to salsa! Definitely a must have if you want to make anything tomato!
Pressure Canning:
Pressure canning is a method of home food preservation used to process low acid foods, such as vegetables, meats, poultry, fish, and some soups, stews, and sauces using high temperatures. Unlike water bath canning, pressure canning uses a specialized pressure canner to achieve higher temperatures than boiling water can achieve. This higher temperature is necessary to destroy harmful bacteria, spores, and microorganisms that can survive in low-acid environments and cause spoilage or foodborne illnesses.
5. Cooling and Sealing after Canning:
Cooling and sealing are crucial steps in the canning process that ensure your preserved foods are safe to store for an extended period. Proper cooling allows the vacuum seal to form, which prevents air and contaminants from entering the jars and causing spoilage.
After the processing time is complete (whether you’re using water bath canning or pressure canning), turn off the heat and allow the canner to naturally cool down. For pressure canning, this also involves allowing the pressure to naturally release.
If you’ve been pressure canning, wait for the pressure gauge or weighted pressure regulator to drop to zero. This indicates that the canner has depressurized and it’s safe to open.
It’s important not to rush the cooling process. Abrupt changes in temperature can lead to changes in pressure inside the jars, potentially causing jars to break or lids to fail to seal properly. Let the canner and jars cool down gradually.
Avoid trying to expedite the cooling process by running cold water over the canner or attempting to open the canner’s lid while there’s still pressure inside. This can be dangerous and compromise the safety of your canned goods.
Once the pressure canner is depressurized (if applicable) and the water bath canner has been turned off, carefully remove the jars from the canner using jar lifters or canning tongs. Place the jars on a clean towel or cooling rack in a draft-free area. Allow the jars to cool undisturbed for about 12 to 24 hours.
As the jars cool, you might hear a “popping” sound or notice the center of the lids becoming concave. This is a sign that the vacuum seal is forming. The vacuum seal occurs as the food inside the jar cools and contracts, pulling the lid down and creating an airtight seal.
Once the jars are fully cooled, test the seals to ensure they have formed properly. Gently press down on the center of the lid. If the lid is firm and doesn’t move or make a clicking sound, the jar has sealed correctly. If a lid flexes or clicks, the jar isn’t properly sealed, and its contents should be refrigerated and consumed promptly.
Remember that proper cooling and sealing are essential for the safety and quality of your canned products. Following recommended canning recipes and guidelines, as well as allowing the necessary cooling time, helps ensure that your preserved foods will be safe to enjoy over time.
6. Storage after Canning:
After fully cooled and tested use permanent markers or labels to clearly mark each jar with its contents and the date of canning. This information is essential for knowing what’s inside each jar and tracking how long it has been stored.
While the sealed lids are important for maintaining a vacuum seal during storage, you can remove the rings once the jars are fully cooled and sealed. Removing the rings (also known as screw bands) prevents them from rusting onto the jars and making it easier to detect if a jar loses its seal. The lids themselves hold the vacuum seal.
Wipe the jars clean to remove any residue or food particles. Store the sealed jars in a cool, dry, and dark place, such as a pantry or cellar. Exposure to light can cause deterioration in color and quality over time.
Store the jars away from extreme temperatures, such as direct sunlight, heat sources, or freezing temperatures. Fluctuations in temperature can cause the lids to weaken and lose their seal.
Periodically inspect your stored jars for any signs of spoilage, leaks, or compromised seals. If you notice any issues, discard the contents and clean the jar thoroughly before reuse.
When using your canned goods, practice first-in, first-out rotation. Use the oldest jars first to ensure that your stored food remains as fresh as possible. This is especially important for maintaining quality over time.
While properly canned and sealed foods can last for a year or more, it’s recommended to use them within 1 to 2 years for optimal quality. Over time, the color, flavor, and nutritional value of the preserved foods may degrade.
Some canned foods, particularly fruits, vegetables, and pickled products, might develop improved flavors and textures with a few months of storage as the flavors meld and mature. However, this isn’t the case for all types of canned foods.
If you notice any unusual smells, colors, or textures when you open a jar, or if the seal is compromised, it’s safer to discard the contents. Food safety is paramount, so always err on the side of caution.
Remember that proper canning, labeling, and storage practices are key to preserving the quality and safety of your canned products.
Canning effectively destroys or inhibits the growth of spoilage microorganisms and enzymes, helping to preserve the quality and safety of the food over an extended period of time. It’s important to follow safe canning. Learn and use tested canning recipes, processing times, and safety guidelines to ensure that the canned food is safe to consume.
Below you will find some great canning recipes!